Ribbon Cake with Bunting
My dear friend Audra truly appreciates a good party plan and is amazing with the execution! I was ecstatic to make her daughter’s first birthday cake, but also seriously nervous. I love decorating cakes for friends and family, because at this point I am pretty confident that whatever I put together will be more fun than what they could pick up from our local grocery store or Sam’s Club.
Audra, however, is a different story.
Audra always knows what is hip and cool, before it is hip and cool. Yeeks! I just said hip… and cool… I am sure that Audra could find a fantastic cake from one of our amazing local bakeries that would turn up in our favorite blogs and magazines in a month or two as the hottest new trend.
The pressure was on!

Ribbon Cake with Bunting
Audra found this adorable cake bunting from Boo Bah Blue to provide inspiration! I wanted to keep the cake pretty simple to showcase the adorable bunting, so I decided to try a two-tiered ribbon cake, with a gum paste plaque. I used a 9 inch round cake for the first tier and a 6 inch round cake for the second tier.
To keep this project manageable and fun, I organized my time and spaced out the work. I created the gum paste name plaque on Wednesday, baked the cakes on Thursday, and I frosted and assembled the cake on Friday.
DECORATE:
1. Apply a thin crumb coat of vanilla buttercream to both cakes and refrigerate for 15-30 minutes, for the icing to set.
2. Once the icing is set, apply an additional smooth, thick, coat of buttercream to the top of each cake.
3. Fill your favorite piping bag with the vanilla buttercream and affix a Wilton 104 piping tip. (I believe tip #104 is typically used for piping petals, but I am a serious piping novice!)
4. Start at the base of your 9 inch cake, with the thin side of the piping tip facing up and the thicker side of the piping tip facing down. Pipe from left to right (or right to left!), about ¾ of an inch, in a figure eight motion. Continue this back and forth motion, moving from the base of the cake to the top. Continue this around the entire cake.
5. Trim 3 wooden dowels to the correct height of the cake, and insert the dowels in the center of the 9 inch cake, for support (I usually space them about 3 inches apart, in a triangular shape).
6. Gently place the 6 inch cake on top of the support dowels.
7. Pipe the 6 inch cake in the same fashion as the first cake.
8. Once both cakes are complete, pipe one final ribbon around the top of each cake to complete the look. Angle the tip with the wide base touching the cake and the thin side facing up. Gently pipe, in about a ½ inch back and forth motion, from the center to the outside of the cake around the circumference of each cake.
9. Before the icing complete sets, affix the gumpaste name plaque to the top tier. If the icing is already somewhat dry, simply wet the back of the gumpaste plaque and firmly hold against the icing until it sticks.
10. Top with an adorable cake bunting!
Confession of a *wannabe* cake decorator…. In my excitement over the ribbon cake, I overlooked the ever-important smash cake! I wanted both cakes to compliment each other, but I didn’t have time to bake, cool, and decorate another cake before the party! I hit up our local grocery store and bought a small cake from the frozen section. I scraped off the frozen icing from store and quickly iced the cake in complementing colors. This worked great… a trick I *may* remember in the future!
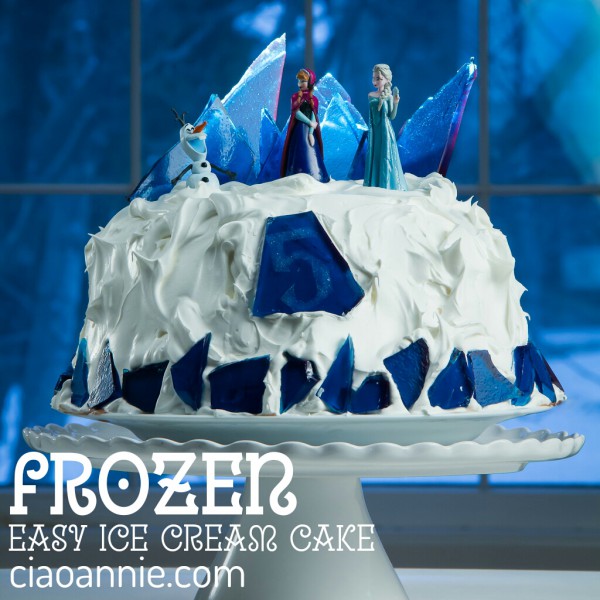
 We are in full-on mermaid mode in our house. I am not sure if our two-year-old is subconsciously dreaming of warmer days to cope with all this snow and cold, but there is not much we can play, read, listen, watch, or color if it is not somehow associated with a mermaid! While I love The Little Mermaid, I was pretty excited that my niece requested a “Frozen” cake for her 5th birthday. I haven’t actually seen Frozen yet (apparently there are no mermaids in Frozen), so I hit Pinterest for some inspiration. How amazing is this Frozen cake from Bubbly Nature Creations!


